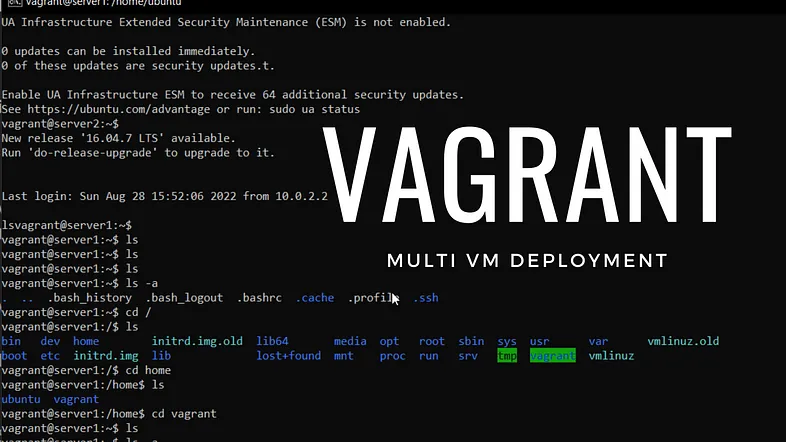
RHCSA Lab Using Vagrant
We are going to use Vagrant to set up two RHEL 8 servers with some custom configuration options. I will include some helpful Vagrant commands at the end if you get stuck.
In this guide, I will be using Fedora 38 as my main operating system. I use Fedora because it is similar in features to Red Hat Linux Distributions. This will give me even more practice for the RHCSA exam as I use it in day-to-day operations.
Note, if you are using Windows, you will need to install ssh. This can be done by installing Git. Which automatically installs ssh for you.
You will also need to have the latest version of Virtualbox installed.
Here are the steps:
- Download and install Vagrant
- Make a new directory for your vagrant lab to live in
- Add the vagrant box
- Install the Vagrant disk size plugin
- Initialize the Vagrant box and Edit the Vagrant file
- Bring up the Vagrant box
1. Download and install Vagrant.
In Fedora, this is very easy. Run the following command to download and install Vagrant:
sudo dnf install vagrant
2. Make a new directory for your vagrant lab to live in.
Make your vagrant directory and make it your current working directory:
cd Vagrant-
Add the Vagrant box.
vagrant box add generic/rhel8 -
Install the Vagrant disk size plugin. The disk size program will help us set up custom storage sizes. Since we will be re-partitioning storage, this is a useful feature.
vagrant plugin install vagrant-disksize
- Initialize the Vagrant box and edit the Vagrant file. First, initialize the Vagrant box in the vagrant directory:
vagrant init generic/rhel8
After completion, there will now be a file called “Vagrantfile” in your current directory. Since Vim is on the RHCSA exam, it’s wise to practice with it whenever you can. So let’s open the file in Vim:
vim Vagrantfile
You will see a bunch of lines commented out, and a few lines without comments. Go ahead and comment out everything and paste this at the end of the file:
Vagrant.configure("2") do |config


config.vm.box = "generic/rhel8"


config.vm.define "server1" do |server1|


server1.vm.hostname = "server1.example.com"


server1.vm.network "private_network", ip: "192.168.2.110"


config.disksize.size = '10GB'


end


config.vm.define "server2" do |server2|


server2.vm.hostname = "server2.example.com"


server2.vm.network "private_network", ip: "192.168.2.120"


config.disksize.size = '16GB'


end


config.vm.provider "virtualbox" do |vb|


vb.memory = "2048"


end


end|
The configuration file is fairly self-explanatory. Save Vagrantfile and exit Vim. Then, create /etc/vbox/networks.conf and add the following:
* 10.0.0.0/8 192.168.0.0/1
* 2001::/646
This will allow you to be more flexible with what network addresses can be used in VirtualBox.
Bring up the Vagrant box.
Now, we bring up the Vagrant box. This will open two Virtual machines in Virtualbox named server1 and server2 in headless mode (there is no GUI).
vagrant up
Great! Now we can use Vagrant to ssh into server1:
vagrant ssh server 1
From server1 ssh into server2 using its IP address:
[vagrant@server1 ~]$ ssh 192.168.2.120
Now you are in and ready to stir things up. The last thing you need is some commands to manage your Vagrant machines.
Helpful Vagrant commands.
Shut down Vagrant machines:
vagrant halt
Suspend or resume a machine:
vagrant suspend
vagrand resume
Restart a virtual machine:
vagrant reload
Destroy a Vagrant machine:
vagrant destroy [machine-name]
Show running VMs:
vagrant status
List other Vagrant options:
vagrant
If you are going for RHCSA, there is no doubt that you will also use Vagrant sometime in the future. And as you can see, it’s pretty quick and simple to get started.
Feel free to reach out with questions.
