Nextcloud Setup on Alma 9 with Apache
I’m going to show you how to set up your own, self-hosted Nextcloud server using Alma Linux 9 and Apache.
What is Nextcloud?
Nextcloud is so many things. It offers so many features and options, it deserves a bulleted list:
- Free and open source
- Cloud storage and syncing
- Email client
- Custom browser dashboard with widgets
- Office suite
- RSS newsfeed
- Project organization (deck)
- Notebook
- Calender
- Task manager
- Connect to decentralized social media (like Mastodon)
- Replacement for all of google’s services
- Create web forms or surveys
It is also free and open source. This mean the source code is available to all. And hosting yourself means you can guarantee that your data isn’t being shared.
As you can see. Nextcloud is feature packed and offers an all in one solution for many needs. The set up is fairly simple.
You will need:
- Domain hosted through CloudFlare or other hosting.
- Server with Alma Linux 9 with a dedicated public ip address.
Nextcloud dependencies:
- PHP 8.3
- Apache
- sql database (This tutorial uses MariaDB)
Official docs: https://docs.nextcloud.com/server/latest/admin_manual/installation/source_installation.html
Setting up dependencies
Install latest supported PHP
I used this guide to help get a supported php version. As php 2 installed from dnf repos by default: https://orcacore.com/php83-installation-almalinux9-rockylinux9/
Make sure dnf is up to date:
sudo dnf update -y
sudo dnf upgrade -y
Set up the epel repository:
sudo dnf install epel-release -ySet up remi to manage php modules:
sudo dnf install -y dnf-utils http://rpms.remirepo.net/enterprise/remi-release-9.rpm
sudo dnf update -y
Remove old versions of php:
sudo dnf remove php* -yList available php streams:
sudo dnf module list reset php -y

Last metadata expiration check: 1:03:46 ago on Sun 29 Dec 2024 03:34:52 AM MST.
AlmaLinux 9 - AppStream
Name                Stream                      Profiles                                  Summary
php                 8.1                         common [d], devel, minimal                PHP scripting language
php                 8.2                         common [d], devel, minimal                PHP scripting language

Remi's Modular repository for Enterprise Linux 9 - x86_64
Name                Stream                      Profiles                                  Summary
php                 remi-7.4                    common [d], devel, minimal                PHP scripting language
php                 remi-8.0                    common [d], devel, minimal                PHP scripting language
php                 remi-8.1                    common [d], devel, minimal                PHP scripting language
php                 remi-8.2                    common [d], devel, minimal                PHP scripting language
php                 remi-8.3 [e]                common [d], devel, minimal                PHP scripting language
php                 remi-8.4                    common [d], devel, minimal                PHP scripting language
Enable the correct stream:
sudo dnf module enable php:remi-8.3Now the default to install is version 8.3, install it like this:
sudo dnf install php -y
php -v
Let’s install git, as it’s also needed in this setup:
sudo dnf -y install git
Install Composer for managing php modules:
cd && curl -sS https://getcomposer.org/installer | php
sudo mv composer.phar /usr/local/bin/composer
Install needed PHP modules:
sudo dnf install php-process php-zip php-gd php-mysqlnd
Upgrade php memory limit:
sudo vim /etc/php.ini
memory_limit = 512MApache setup
Add Apache config for vhost:
sudo vim /etc/httpd/conf.d/nextcloud.conf
<VirtualHost *:80>
  DocumentRoot /var/www/nextcloud/
  ServerName  {subdomain}.{example}.com

  <Directory /var/www/nextcloud/>
    Require all granted
    AllowOverride All
    Options FollowSymLinks MultiViews

    <IfModule mod_dav.c>
      Dav off
    </IfModule>
  </Directory>
</VirtualHost>
Set up the mysql database
Install:
sudo dnf install mariadb-server -y
Enable the service:
sudo systemctl enable --now mariadb
Nextcloud needs some tables setup in order to store information in a database. First set up a secure sql database:
sudo mysql_secure_installationSay “Yes” to the prompts and enter root password:
Switch to unix_socket authentication [Y/n]: Y
Change the root password? [Y/n]: Y	# enter password.
Remove anonymous users? [Y/n]: Y
Disallow root login remotely? [Y/n]: Y
Remove test database and access to it? [Y/n]: Y
Reload privilege tables now? [Y/n]: Y
Sign in to your SQL database with the password you just chose:
mysql -u root -pCreate the database:
While signed in with the mysql command, enter the commands below one at a time. Make sure to replace the username and password. But leave localhost as is:
CREATE DATABASE nextcloud;
GRANT ALL ON nextcloud.* TO '{username}'@'localhost' IDENTIFIED BY '{password}';
FLUSH PRIVILEGES;
EXIT;
Nextcloud Install
Clone the git repo into /var/www/nextcloud:
git clone https://github.com/nextcloud/server.git /var/www/nextcloud && cd /var/www/nextcloud
Add an exception for git to access the directory:
git config --global --add safe.directory /var/www/nextcloudInitialize the git submodule that handles the subfolder “3rdpartysudo”:
cd /var/www/nextcloud && sudo git submodule update --initChange the nextcloud folder ownership to apache and add permissions:
sudo chmod -R 755 /var/www/nextcloud
sudo chown -R apache:apache /var/www/nextcloud
Selinux:
sudo semanage fcontext -a -t httpd_sys_content_t "/var/www/nextcloud(/.*)?" && \
sudo semanage fcontext -a -t httpd_sys_rw_content_t "/var/www/nextcloud/(config|data|apps)(/.*)?" && \
sudo restorecon -Rv /var/www/nextcloud/
Now we can actually install Nextcloud. cd to the /var/www/nextcloud directory and run occ with these settings to install:
sudo -u apache php occ  maintenance:install \
--database='mysql' --database-name='nextcloud' \
--database-user='root' --database-pass='{password}' \
--admin-user='admin' --admin-pass='{password}'
Create a CNAME record for DNS.
Before you go any further, you will need to have a domain name set up for your server. I use Cloudflare to manage my DNS records. You will want to make a CNAME record for your nextcloud subdomain.
Just add “nextcloud” as the name and “yourwebsite.com” as the content. This will make it so “nextcloud.yourwebsite.com” is the site for your nextcloud dashboard. Also, make sure to select “DNS Only” under proxy status.
Here’s what my CloudFlare domain setup looks with this blog as the main site, and cloud.perfectdarkmode.com as the nextcloud site:
Then you need to update trusted domains in /var/www/nextcloud/config/config.php:
'trusted_domains' =>
   [
    '{subdomain}.{domain}.com',
    'localhost'
  ],
Restart httpd
systemctl restart httpd
Install SSL with Certbot
Obtain an SSL certificate. (See my Obsidian site setup post for information about Certbot and Apache setup.)
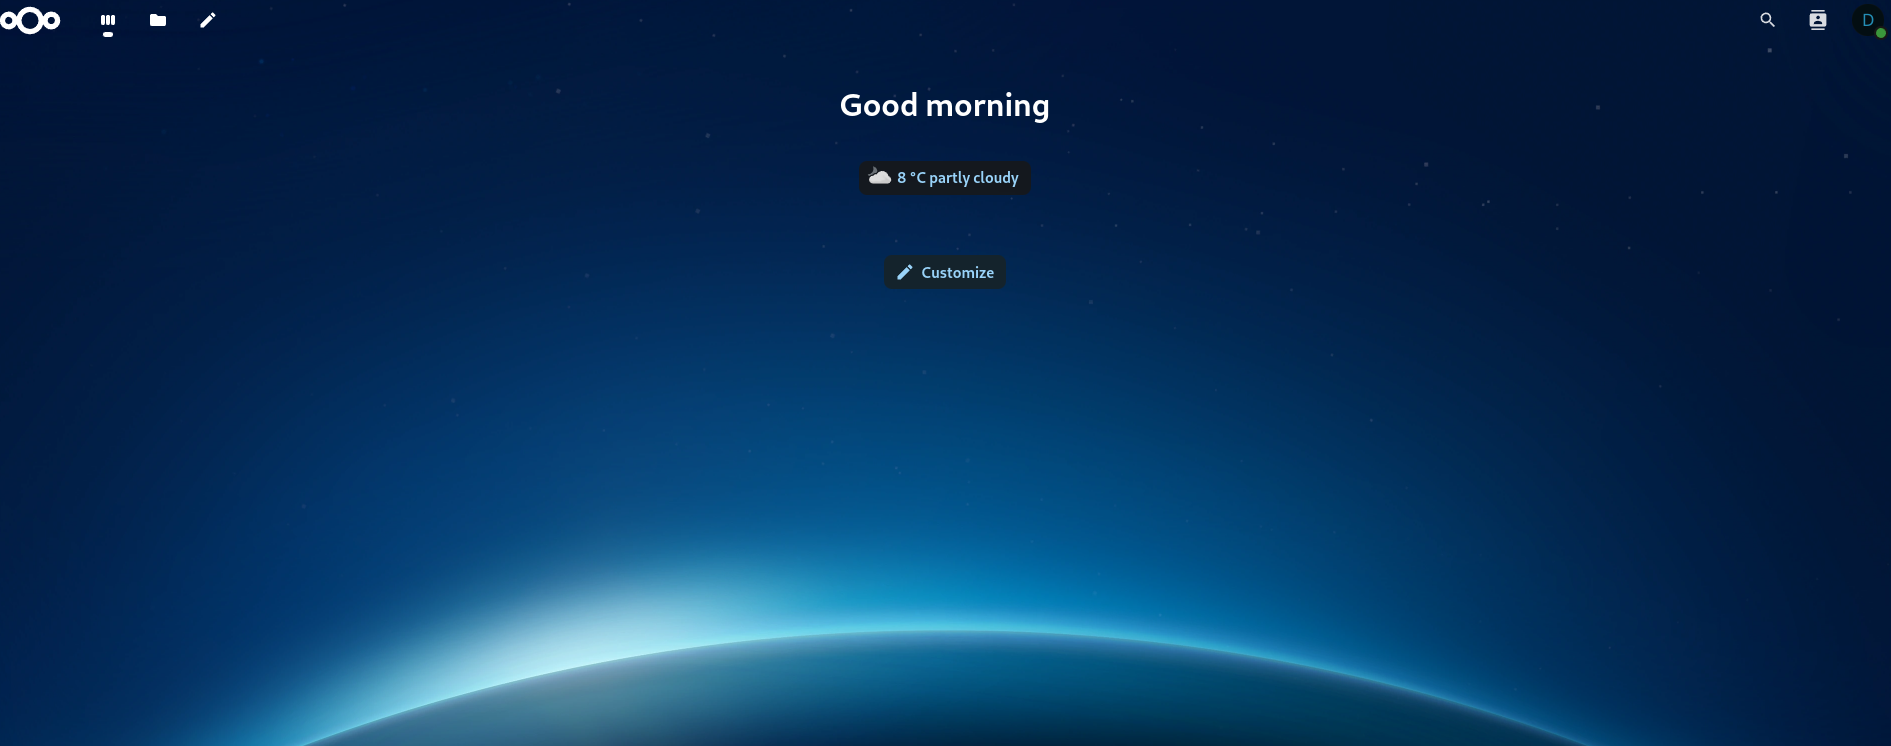
sudo certbot -d {subdomain}.{domain}.comNow log into nextcloud with your admin account using the DNS name you set earlier:
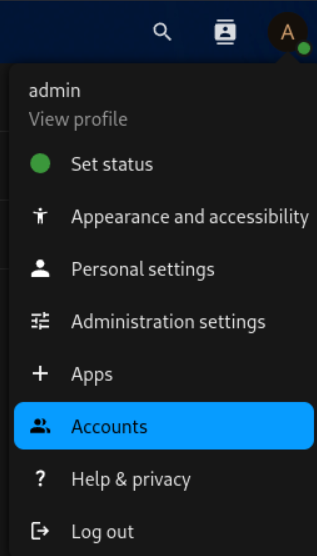
I recommend setting up a normal user account instead of doing everything as “admin”. Just hit the “A” icon at the top right and go to “Accounts”. Then just select “New Account” and create a user account with whatever privileges you want.
I may make a post about which Nextcloud apps I recommend and customize the setup a bit. Let me know if that’s something you’d like to see. That’s all for now.


