Adding Storage for Practice
Lab: Add Required Storage to server2
- start VirtualBox and add 4x250MB and 1x5GB disks to server2
1. Start VirtualBox on your Windows/Mac computer and highlight the RHEL9-VM2 virtual machine that you created in Lab 1-1. See Figure 13-1.
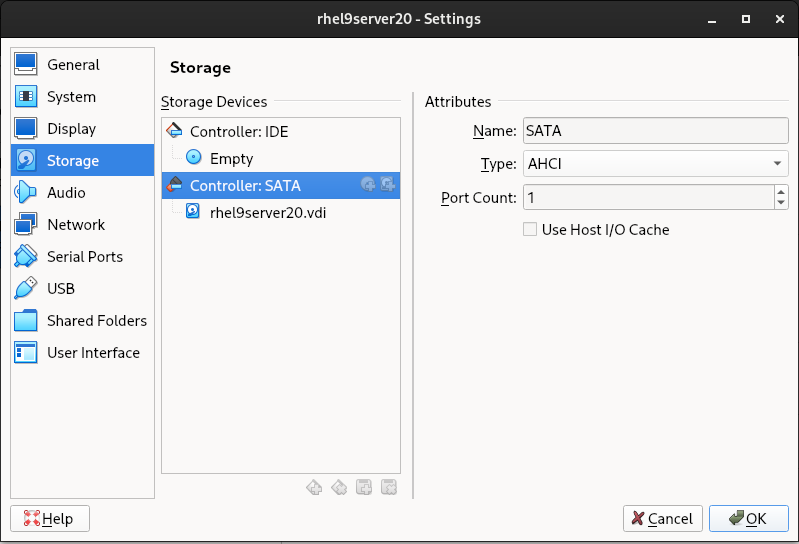
2. Click Settings at the top and then Storage on the window that pops up. Click on “Controller: SATA” to select it. Figure 13-2.
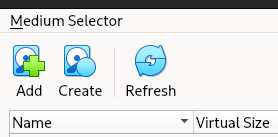
3. Click on the right-side icon next to “Controller: SATA” to add a hard disk and then click Create (on the Medium Selector screen)


4. Follow this sequence to add a 250MB disk: Click Next on the next two screens to select the two defaults for the “VDI (Virtualization Disk Image)” and “Dynamically allocated” options. Adjust the size on the third screen to 250MB.
5. Repeat step 4 three more times to create additional disks of the same size.
6. Repeat step 4 one time to create a disk of size 5GB.
7. On the Medium Selector screen, the five new disks will appear under the Not Attached list of disks. Double-click on each one of them to add to RHEL9-VM2.
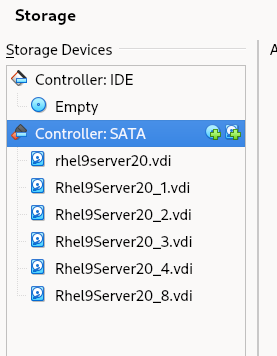
8. The final list of disks should look similar to what is shown in Figure 13-6 after the addition of all five disks (RHEL9-VM2_1 to RHEL9-VM2_5). Disk names may vary.
9. Click OK to return to the main VirtualBox interface.
10. Power on RHEL9-VM2.
11. When the server is booted up, log on as user1 and run the lsblk command to verify the new storage:
12. The five new disks added to server2 are 250MB (sdb, sdc, sdd, and sde) and 5GB (sdf).


